Frankly, Miss Shallot...
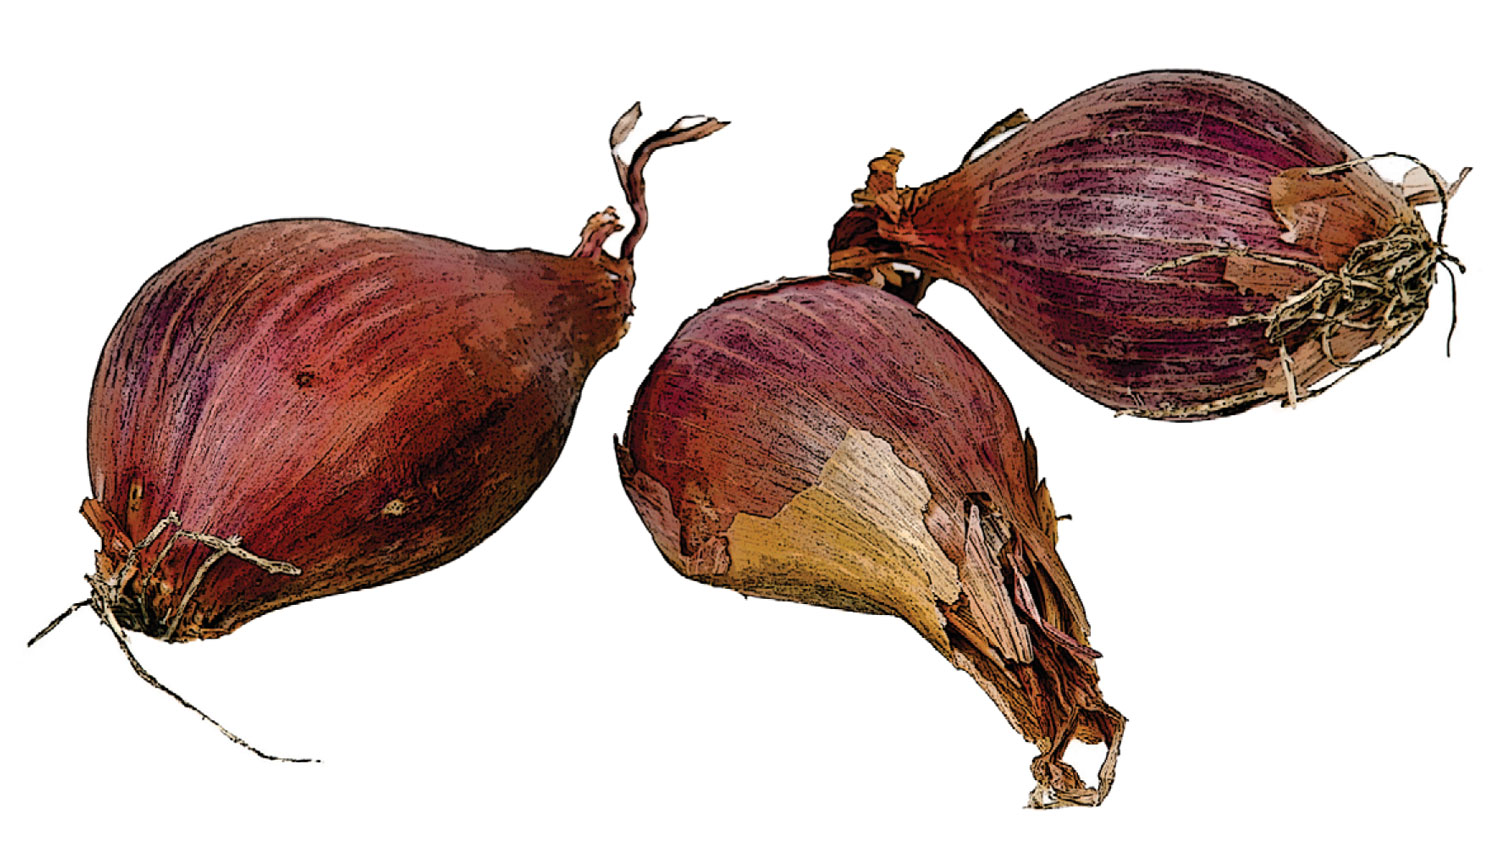
I had been buying a few French shallots here and there to make a salad dressing that has become a staple in my kitchen, when one day it occurred to me that I needed to just grow my own. It turned out to be a snap! Shallots are set out in the garden like cloves of garlic, but in the spring of the year. When you get your shallots, pull apart the clusters and plant the individual sets about six to eight inches apart. After about three months the foliage will die back naturally and the shallots will have formed whole heads once again. It is reproduction at its best. Save a section, plant a section, wait a few months and you have a whole head of shallots again!
Onions come in a range of interesting shapes, colors and flavor: green onions, bulbing onions, top-setting onions, storage onions and specialties like shallots and leeks. There are some fundamentals to growing them all, and once you master them there is no reason not to try a few in your home garden.
Onions and leeks are considered cool-season crops so they are first on the garden agenda each year. Leeks, which take a good portion of the growing season to reach maturity, are planted in mid-March along with my assortment of onions, shallots and potatoes. When planting onions, shallots and leeks, wait until the soil has dried out and is workable. To expedite this during our typically wet springs you can cover the area with black plastic. Prepare the soil by turning in some compost to improve drainage and add nutrients.
Purchasing sets is the easiest way to go; starting them from seed is a lengthier process. Green onion sets should be planted at the same depth as they were before, just below where the neck begins. Plant them in narrow rows to be space efficient, about five inches apart. Green onions are harvested for their tops so they do not need as much room. For dry onions, give them a little more space and be sure that their “heads” remain just above the soil level. They will be smaller and more prone to rot if soil is allowed to mound up around the neck. Also take care not to disturb the shallow roots when cultivating around onions. Hand-pull weeds and avoid soil compaction.
The telltale sign that your onions are ready for harvest can be seen above the soil: The tops of the plants will begin to die back and flop over. Once about half of the tops have turned brown and flopped over, the onions are at their peak for harvesting. You don’t want to harvest too early because the bulb size will be small, they will cure slowly and will be more likely to decay before you use them. Putting off harvest too long also increases the chances of decay. So, remember to watch for the tops to start dying back and flopping over.
Once the tops have died back, dig the onions. During the curing process, you want to cut the tops back to about two inches and lay them out on a screen in a dry, well-ventilated, shaded place for about two weeks. As they cure the necks shrink up and phenolic compounds accumulate there, which helps to stop decay. Those onions with thicker necks have a harder time protecting themselves from rot so go ahead and sort those out and use them first.
After two weeks, clean up the tops of the dried onions but leave about an inch to protect the neck from bacteria and fungi. Onions are most successfully stored at 32° with a low humidity level. Rot and sprouting during the bulb’s dormant period are more prevalent when they are stored at temperatures above 40°. Additionally, the more pungent the onion variety the better it stores because there are higher levels of the phenolic compound that helps to keep disease down in the bulb. Milder-flavored onions like the Bermuda and sweet Spanish do not store well.
The “bulb” of a leek is really a long shank, which has a milder, smoother flavor than its cousin, the onion. They require a more specific planting technique, however, and they have a longer growing season so you need to get started in early spring. Unlike onions, leeks prefer a slightly alkaline soil so have a soil test done to see if you need to add lime to the planting trench. Once this is done you need to dig a six- by six-inch trench and work in some compost (and lime, if the soil alkalinity needs to be increased). Plant the leeks in the bottom of the trench by spreading their roots out and covering with a little soil, but do not fill the trench. In about two weeks add a little more soil to the trench as the leeks grow. The goal is to elongate the shank of the leek, so continue to back fill the trench as the plants grow. Keep leeks well-watered and well-fed to ensure even and tender growth. Harvest in the fall by loosening the soil with a garden fork and gently pulling them out of the ground.
I really like leeks but I must confess that I am not very good at growing them. I love the idea of growing them but their delicately flavored layers of leek flesh always seem to get infested with onion maggots! I usually just carve out the maggoty tunnels and salvage what I can, but I am due a successful harvest lest I give up on growing them altogether. The number one problem when it comes to onion maggots is that the mama fly who lays the eggs loves garden soil rich in organic matter. Who can blame her? I rotate my onion crops diligently and I remove old crop debris, so this year I will sprinkle a little diatomaceous earth around each leek hoping to deter the pest for one more try at growing leeks in the garden.